Creating a clock
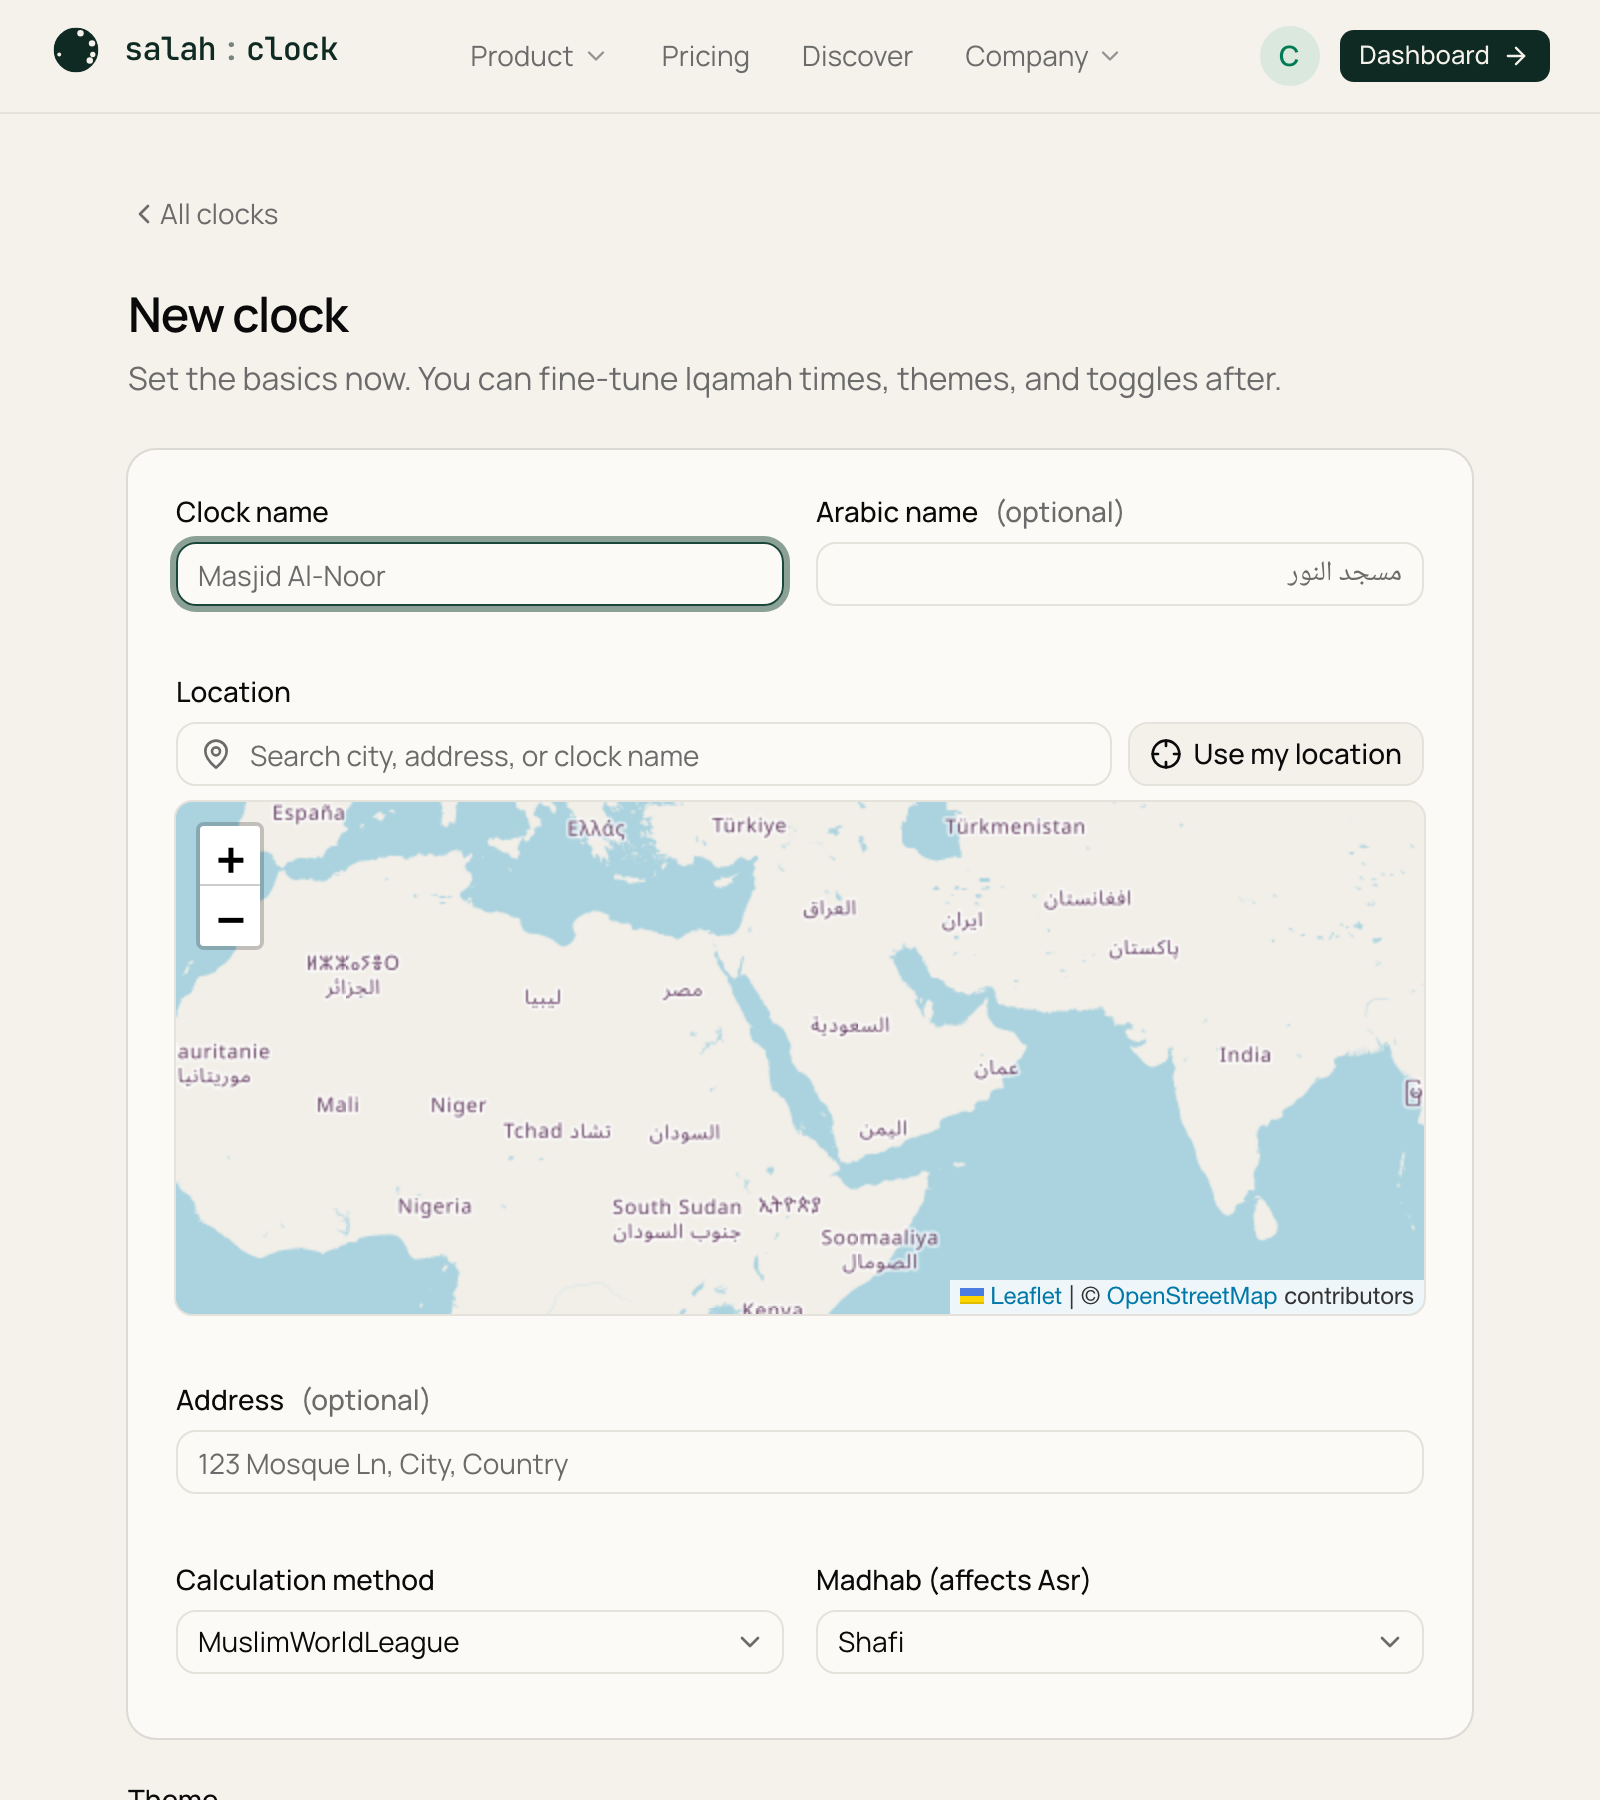
A clock is one display — usually one mosque, or one screen. Let's make one. From your dashboard, press Add a clock.
- 1
Name it
Give the clock a name — your mosque's name is the obvious choice. It appears on your public profile and your billing page. You can also add an Arabic name if you'd like a bilingual title.
- 2
Set the location
Search for your address in the location box and pick it from the list. This sets your latitude and longitude, which is how prayer times are calculated for your exact spot. It also sets your time zone automatically.
- 3
Choose a calculation method
Pick the calculation method your community follows (Muslim World League, ISNA, Umm al-Qura, and many more). Not sure? Your local mosque's website usually states which one they use. You can change it later.
More detail: Prayer time calculation.
- 4
Choose a madhab
The madhab setting only affects the Asr time. Choose Hanafi for the later Asr, or Shafi'i / Maliki / Hanbali for the earlier one.
- 5
Pick a theme
Choose a theme — the visual design of the display. Locked themes (greyed out) need a paid plan; the starter themes are free. You can switch themes anytime. See Choosing a theme.
- 6
Save
Press Save. Your new clock appears on the dashboard, ready to open.
Add your logo after saving
On a paid plan, open the new clock's General tab to add a logo beside its name. It carries across every theme and both display orientations. See Clock logo.
At your plan's limit?
If you've used up the clocks your plan allows, you'll see a prompt to upgrade instead of the form. See Plans compared.
Tip
You don't have to get everything perfect now. Save with the basics, open the display to see it live, then fine-tune in Settings.